

Moving day stress often comes from poor planning, not the move itself. We at LifeEventGuide know that a solid packing checklist for moves makes the difference between chaos and calm.
This guide walks you through proven strategies to pack efficiently, stay organized, and actually enjoy the process. You’ll learn exactly what supplies you need and how to pack so nothing breaks and nothing gets lost.
When Should You Start Packing
Starting your packing four to six weeks before moving day isn’t optional if you want to avoid last-minute panic. Most people underestimate how long packing actually takes. A study by the American Moving and Storage Association found that the average household spends between 40 to 60 hours packing, yet most people allocate only two to three weeks for the task. This gap between reality and expectation is why moving stress peaks in the final week. Starting early means you pack during calm evenings rather than frantic all-nighters. You’ll also spot problems early, like discovering you need twice as many boxes as you thought or realizing certain items require special handling.
Build Your Timeline Around Your Move Date
Work backward from your moving date to create a realistic schedule. Four weeks out, focus on decluttering and gathering supplies. This is when you decide what stays and what goes, which directly reduces the number of boxes you’ll pack. Three weeks before the move, start packing items you rarely use: seasonal decorations, off-season clothing, books you haven’t opened in a year, and formal dining pieces. Two weeks before, shift to items used occasionally, like guest bedroom contents and garage equipment. One week before, pack everyday items you can live without for seven days. The final week covers only essentials you use daily, which you’ll pack last and unload first. This staggered approach prevents the psychological overwhelm of facing hundreds of boxes at once and keeps your home functional until moving day.
Organize Items by How Often You Use Them
Sort items by frequency of use rather than by room, because this creates a natural packing sequence. Items you never touch should go into boxes first. Items you use monthly come next. Weekly-use items pack in week two. Daily essentials pack last. This system works because it acknowledges that packing is a process, not an event. You won’t have motivation or energy to pack everything in one weekend, so this method sustains momentum over weeks. It also prevents the frustration of needing something that’s already sealed in a box. When you pack your winter coat in August and won’t need it until November, you feel confident sealing that box. When you pack your coffee maker three days before moving, you know exactly where it is because it just went in a box.
Create a Dedicated Packing Station
Choose one room or corner of your home as your packing headquarters. This is where you store all boxes, tape, markers, and packing materials. Having everything in one place saves time and prevents the scattered frustration of hunting for supplies. Stock this station with sturdy boxes in multiple sizes, packing tape, bubble wrap, packing paper, and permanent markers. A survey by moving companies found that households using a centralized packing station completed their packing faster than those without one. Keep your labeling system visible here too, whether that’s color-coded tape, markers, or a printed legend. This station also serves as your staging area where boxes wait before loading into the moving truck. Having a system prevents boxes from spreading throughout your entire home, which creates visual chaos and makes it harder to track what’s packed versus what still needs attention.
With your timeline set and your station ready, you can now focus on gathering the right supplies and learning the specific techniques that prevent damage and loss during the move.
Essential Packing Supplies and Strategies
Choose the Right Boxes for Your Items
Quality boxes matter far more than most people realize, and skimping here costs you money and stress later. Thin boxes collapse under weight, crushing contents and forcing repacking. Purchase boxes rated for 32 pounds or more per carton-these are labeled as heavy-duty or double-wall boxes. Standard single-wall boxes work only for lightweight items like pillows or decorations. Size your boxes strategically: small boxes (1.5 cubic feet) hold heavy items like books and kitchen equipment, while large boxes (4.5 cubic feet) contain bulky light items like bedding and towels. The weight rule is absolute-a 40-pound box of books becomes impossible to lift and damages your back.
Select Tape, Wrap, and Protective Materials
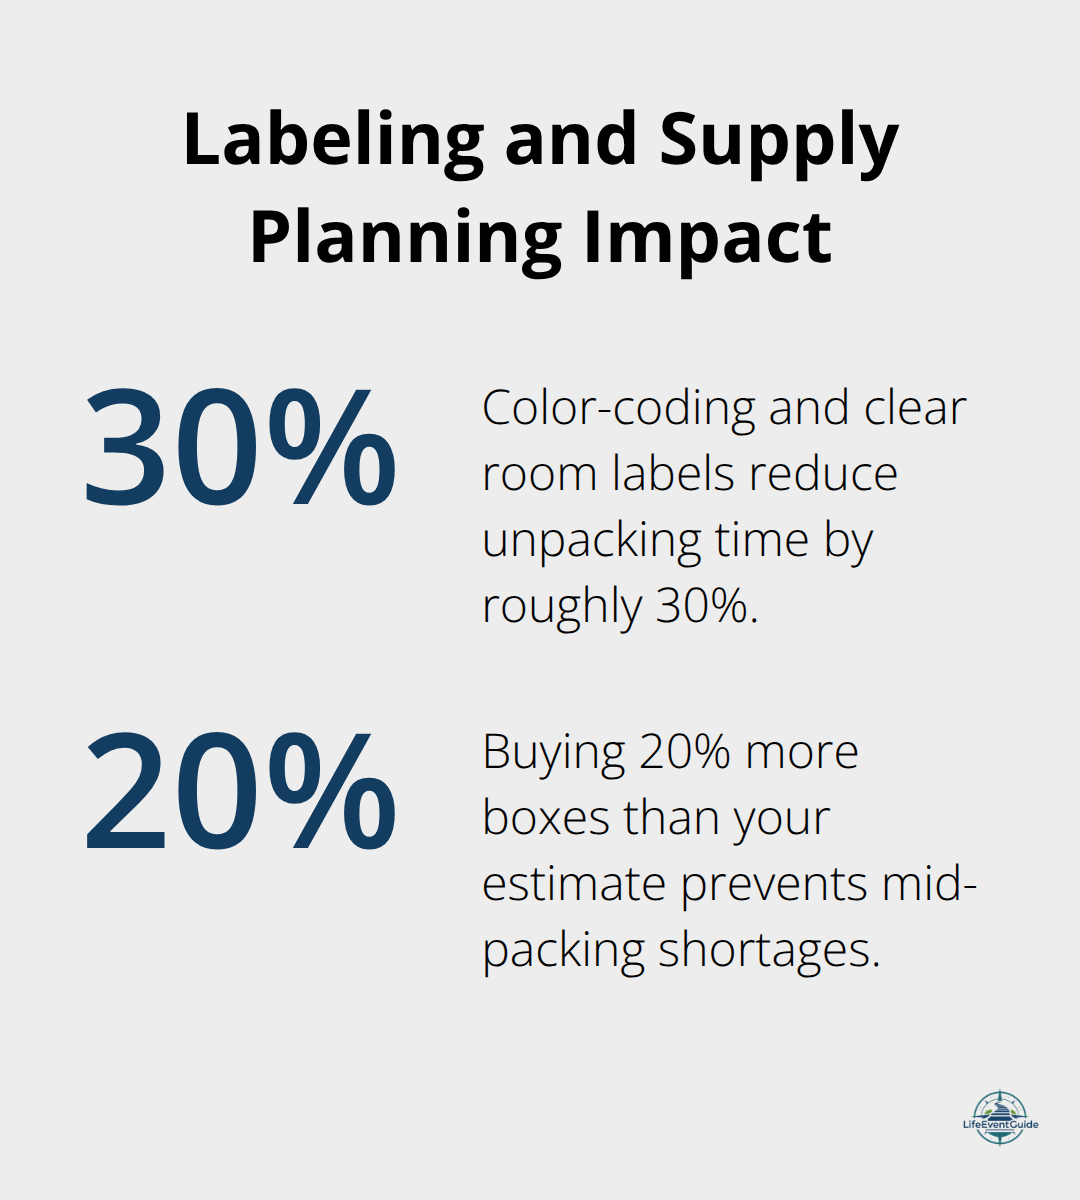
Pressure sensitive tape works well for light-duty packing tasks. Bubble wrap protects breakables far better than newspaper because it cushions impact without transferring ink to dishes. Packing paper works for wrapping individual items and filling gaps. Plastic bags serve soft items well, and stretch wrap bundles furniture components effectively. Permanent markers label boxes clearly and durably. Most households underestimate quantities dramatically. A typical three-bedroom home requires 40 to 50 small boxes, 60 to 80 medium boxes, and 40 to 50 large boxes. Purchasing 20 percent more than your estimate prevents the frustration of running short mid-packing.
Organize and Label by Room
Organizing by room creates natural stopping points and prevents the exhaustion of moving randomly through your home. When you pack the guest bedroom first, you finish a complete space and feel genuine progress. This momentum carries into the next room. Label each box with the destination room, a brief contents list, and whether it contains fragile items. Use thick permanent markers on all four sides of each box so labels remain visible no matter how boxes stack. Color-coding by room transforms packing, loading, and unpacking into a more organized experience-assign blue tape to kitchen boxes, green to bedrooms, red to living areas. Movers can then place boxes directly in correct rooms without opening them. This single system reduces unpacking time by roughly 30 percent compared to unmarked boxes.
Protect Fragile Items and Track Everything
Include a fragile label on any box containing dishes, glassware, mirrors, or electronics. Photograph the contents of fragile boxes before sealing them, creating visual proof of what’s inside for insurance purposes if damage occurs. Never pack boxes so heavy that one person cannot lift them alone, and never stack boxes more than five high because weight accumulates and crushes lower boxes. Keep a master inventory document listing box numbers, contents, and destination rooms-this prevents losing track of items and simplifies claiming insurance for anything damaged or lost during transit.
With your supplies organized and your labeling system in place, you’re ready to learn the specific techniques that prevent damage and loss while keeping your stress levels manageable throughout the packing process.
How to Pack Without Breaking Things or Losing Your Mind
Distribute Weight Correctly to Protect Your Items and Back
The weight distribution rule separates successful packers from those who end up repacking boxes mid-move. Heavy items like books, kitchen equipment, and electronics go into small boxes, with a maximum of 50–60 pounds per box. This prevents boxes from collapsing under weight and protects your back from injury when lifting. Light items like pillows, linens, and decorations belong in large boxes where they fill space without creating dangerous weight. Violate this rule and you create immediate problems: a heavy box of books becomes impossible for one person to lift, gets dropped, damages contents, and strains whoever attempts to move it. Place heavier boxes on the bottom of stacks and lighter boxes on top, never the reverse. This simple principle protects items in lower boxes from being crushed and keeps the stack stable enough that movers can transport it safely. Most people pack intuitively, putting whatever fits into whatever box is closest, which is why moving day becomes chaotic. Instead, weigh boxes as you pack them using a bathroom scale and mark the weight on the box with your marker. This creates accountability and prevents the guessing game of whether a box is safe to lift.
Prepare Your Open-First Box for Immediate Needs
Your open-first box deserves more attention than most people give it because this single container determines whether your first night in a new home feels manageable or miserable. Stock this box with essentials you need immediately: cleaning supplies, foods and beverages, linens and sleeping arrangements, and personal items. Include a roll of duct tape because it solves unexpected problems. Keep this box with you during the move rather than loading it onto the truck, and unload it first so these essentials sit within arm’s reach. This approach eliminates the frustration of searching through dozens of boxes for your toothbrush or phone charger on your first exhausting night.
Document Electronics Before Disconnecting Anything
Electronics require a different approach entirely. Before unplugging any device, photograph the cable connections from multiple angles. Label each cable with tape and a marker indicating where it connects, or place all cables for one device in a labeled plastic bag. Keep instruction manuals and original boxes for expensive electronics if you have them, as these protect items during transit and simplify setup in your new home. For your home office or entertainment system, take a photo of the entire setup before disconnecting anything, creating a visual reference for reassembly. Many people underestimate how long electronics setup takes, spending hours on moving day tracing cables and guessing which cord goes where. This photo method eliminates that frustration entirely and typically saves two to three hours of setup time.
Final Thoughts
Before moving day arrives, walk through your home and verify that every box has labels on multiple sides with its destination room and contents. Count your boxes and cross-reference them against your master inventory list to catch mistakes early, such as a box labeled for the kitchen that actually holds bedroom items. This verification step transforms your packing checklist for moves from a planning tool into an active quality-control system that prevents confusion on moving day.
Your organized system becomes your moving day asset when you hand your inventory list and color-coded boxes to your movers so they place items directly in correct rooms. Keep your open-first box with you during transit, and take photos of your empty rooms before leaving your old home for insurance documentation. These final preparations mean your moving day runs smoothly because you’ve already solved the problems that typically create chaos.
We at LifeEventGuide understand that moving involves more than just packing boxes. Our Decide-Protect-Execute-Review framework helps you navigate every aspect of your move with clear timelines and checklists that prevent common mistakes.
Publisher’s Note: LifeEventGuide is an independent educational publisher. Some articles reference tools or services we recommend to help readers explore options related to major life transitions. Learn more about how we make recommendations here.